> ## Documentation Index
> Fetch the complete documentation index at: https://docs.seosorted.ai/llms.txt
> Use this file to discover all available pages before exploring further.
# Shopify
> Publish articles to a blog on your Shopify store.
The Shopify connector posts articles to one blog in your store — the "News" blog every store
starts with, or any blog you've created since.
We request the content scopes (`write_content`, `read_content`). We can create and read blog
articles. We cannot see orders, customers, or payment data.
## Before you start
* You need to be **store owner** or staff with permission to install apps.
* The store needs an **active plan**. Shopify refuses app installs on paused, frozen, or
cancelled stores — you'll be redirected to the reactivation page instead of the permission
screen.
* Your store needs at least one blog: **Shopify admin → Content → Blog posts → Manage blogs**.
* Have your **permanent domain** handy — the `something.myshopify.com` one, not your custom
domain.
## Step 1 — Enter your store domain
**Project Settings → Integrations → Shopify → Connect**.
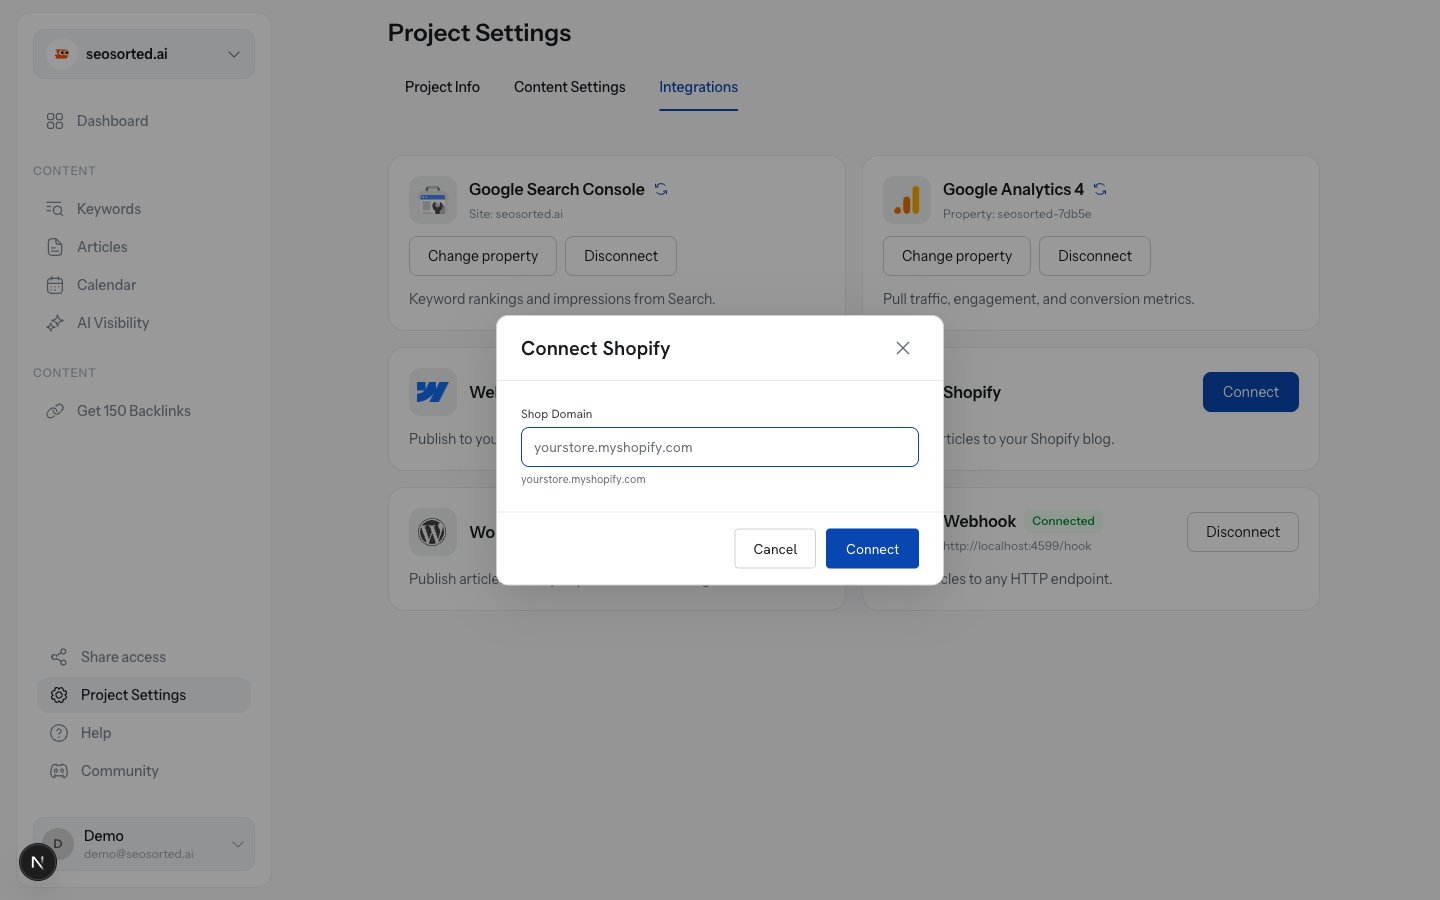 Your permanent domain, e.g. `seosorted-demo.myshopify.com`. Just the store handle
(`seosorted-demo`) also works — we complete it for you. A full admin URL is fine too; we trim
it.
Your **custom** domain (`shop.seosorted.ai`) is rejected with *"Enter your permanent Shopify
domain…"*. Shopify's OAuth only accepts the `.myshopify.com` host. Find yours in **Shopify admin
→ Settings → Domains**, under "Shopify-managed domains" — or just look at the URL while you're
in the admin.
## Step 2 — Approve the install
Click **Connect** and Shopify shows its permission screen.
Your permanent domain, e.g. `seosorted-demo.myshopify.com`. Just the store handle
(`seosorted-demo`) also works — we complete it for you. A full admin URL is fine too; we trim
it.
Your **custom** domain (`shop.seosorted.ai`) is rejected with *"Enter your permanent Shopify
domain…"*. Shopify's OAuth only accepts the `.myshopify.com` host. Find yours in **Shopify admin
→ Settings → Domains**, under "Shopify-managed domains" — or just look at the URL while you're
in the admin.
## Step 2 — Approve the install
Click **Connect** and Shopify shows its permission screen.
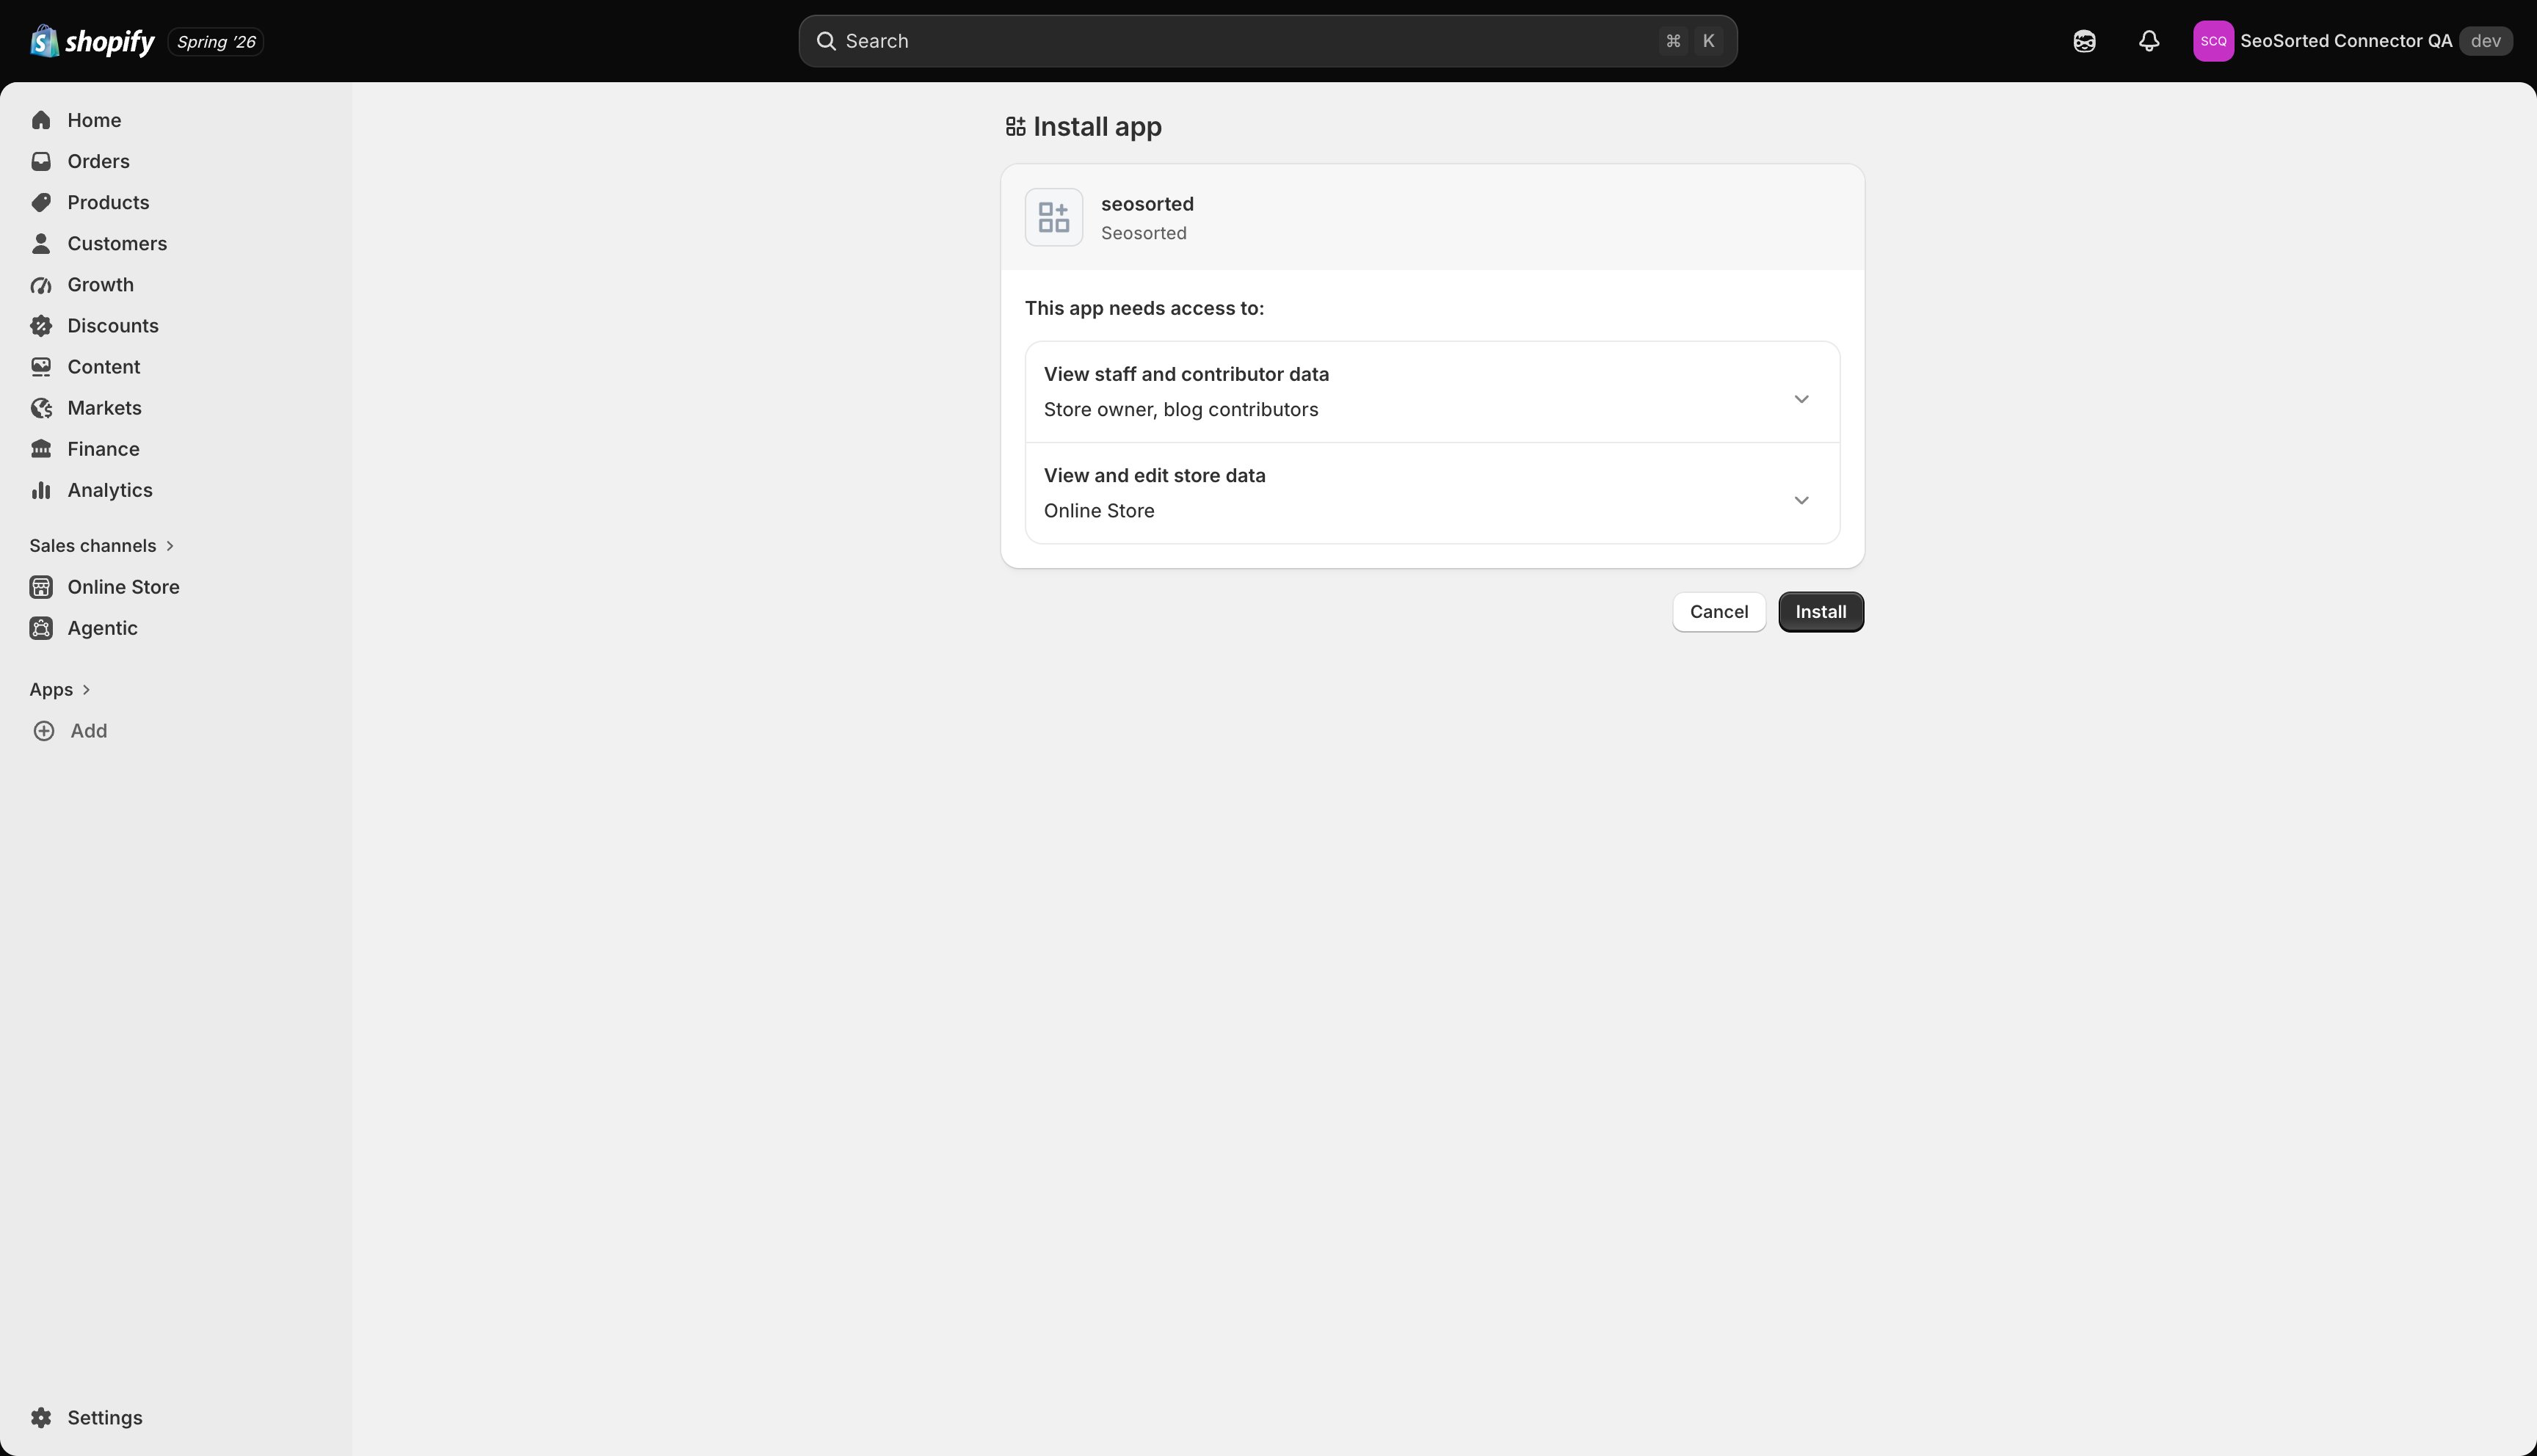 Approve, and you're returned to the Integrations tab.
## Step 3 — Pick a blog
The card shows **Setup required — pick a blog**.
Approve, and you're returned to the Integrations tab.
## Step 3 — Pick a blog
The card shows **Setup required — pick a blog**.
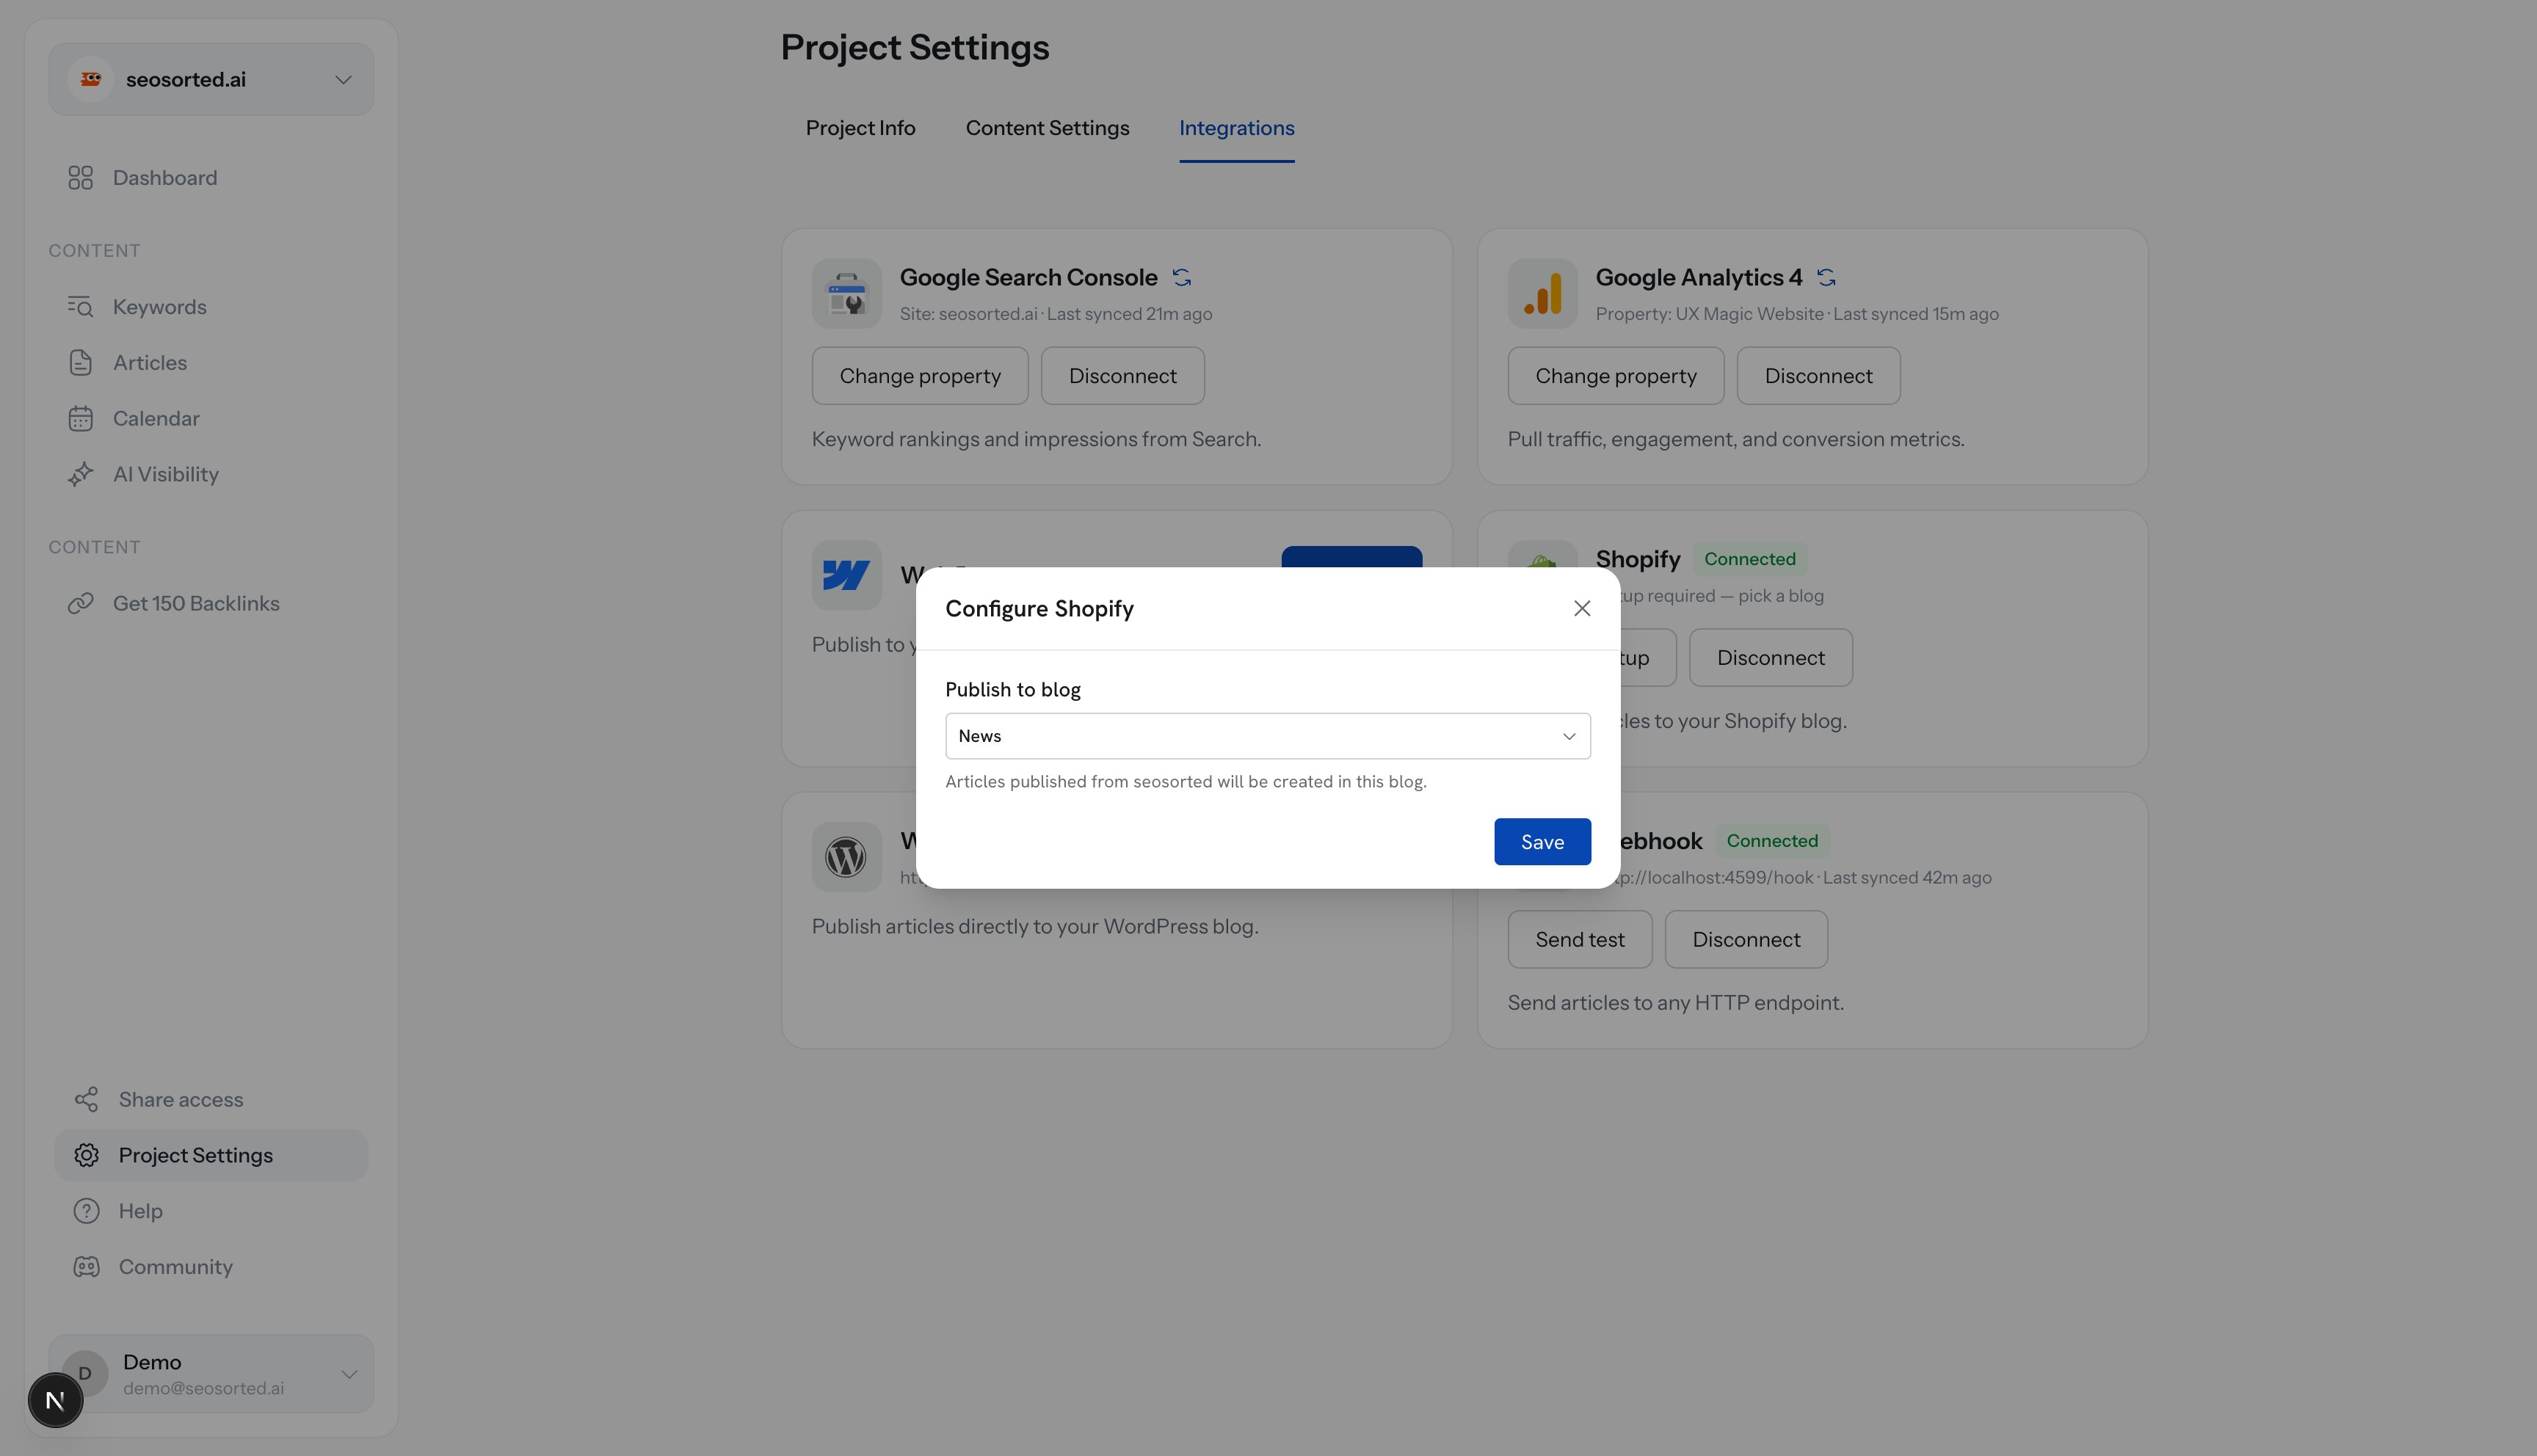
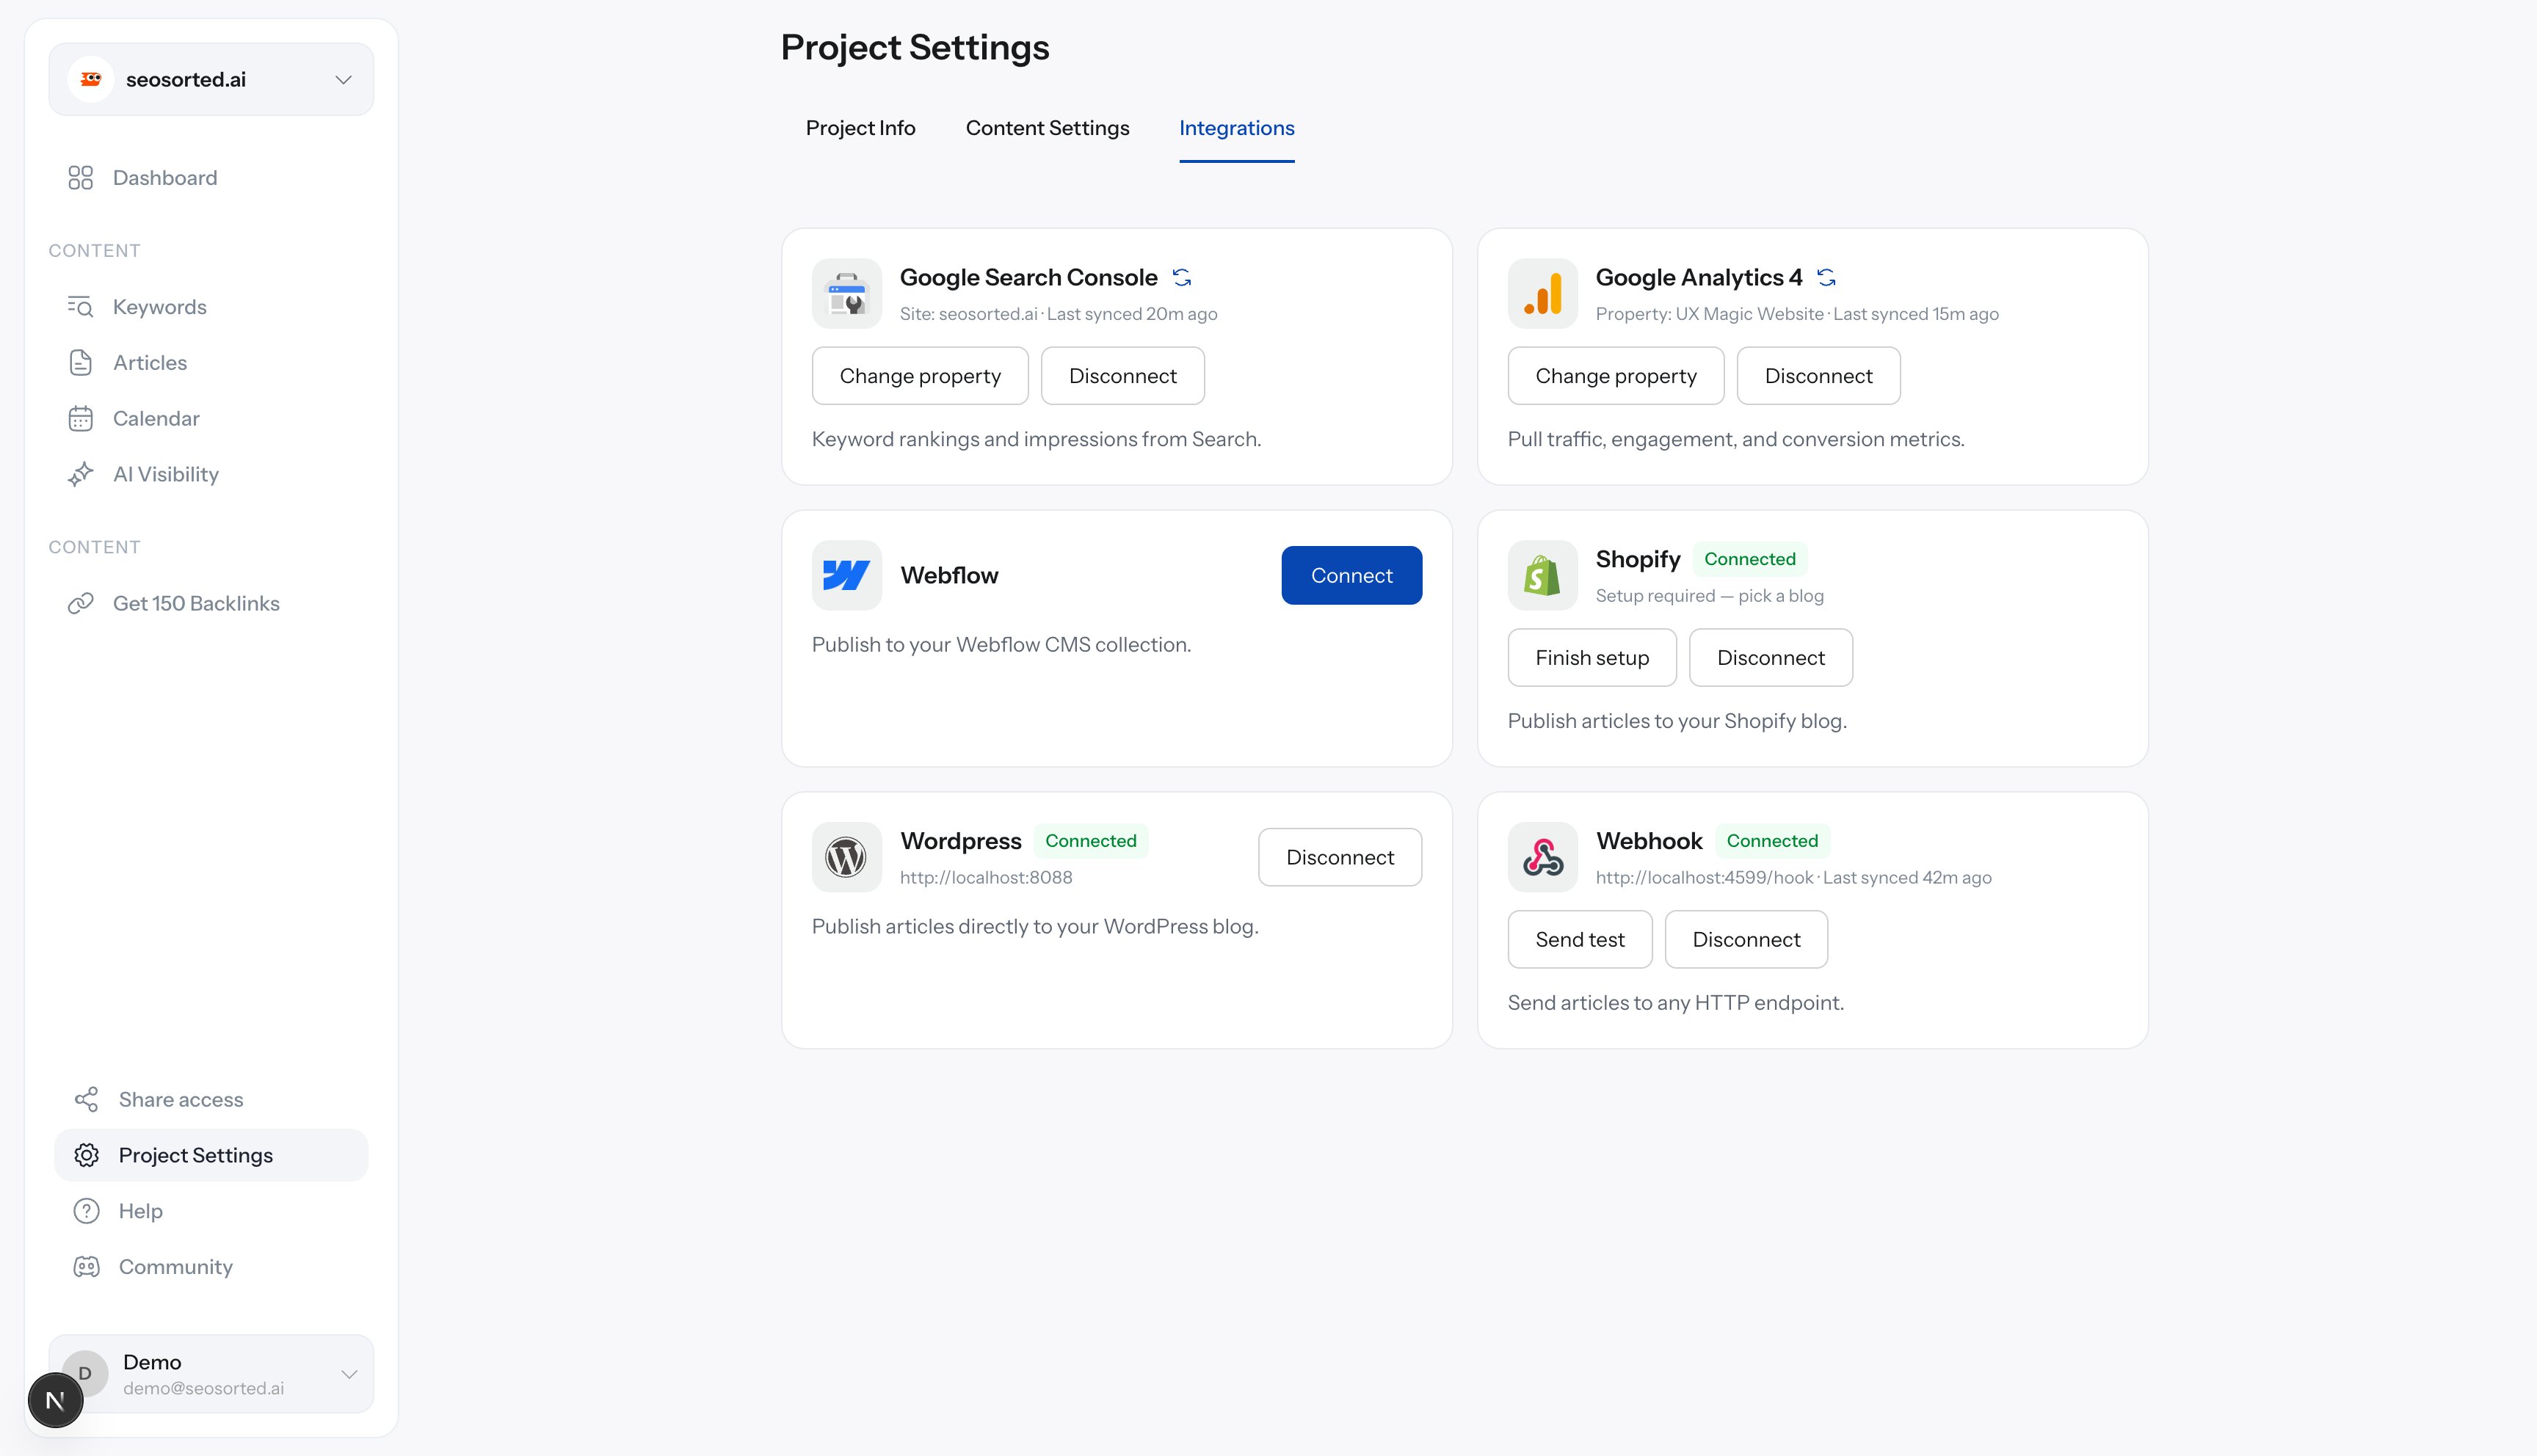 Click **Finish setup**, choose the blog to publish into, and save. Stores usually have one
("News"); pick the one your theme actually renders.
Click **Finish setup**, choose the blog to publish into, and save. Stores usually have one
("News"); pick the one your theme actually renders.
 ## Step 4 — Publish
Open an article, click **Publish**, choose **Shopify**, then **Publish now**.
## Step 4 — Publish
Open an article, click **Publish**, choose **Shopify**, then **Publish now**.
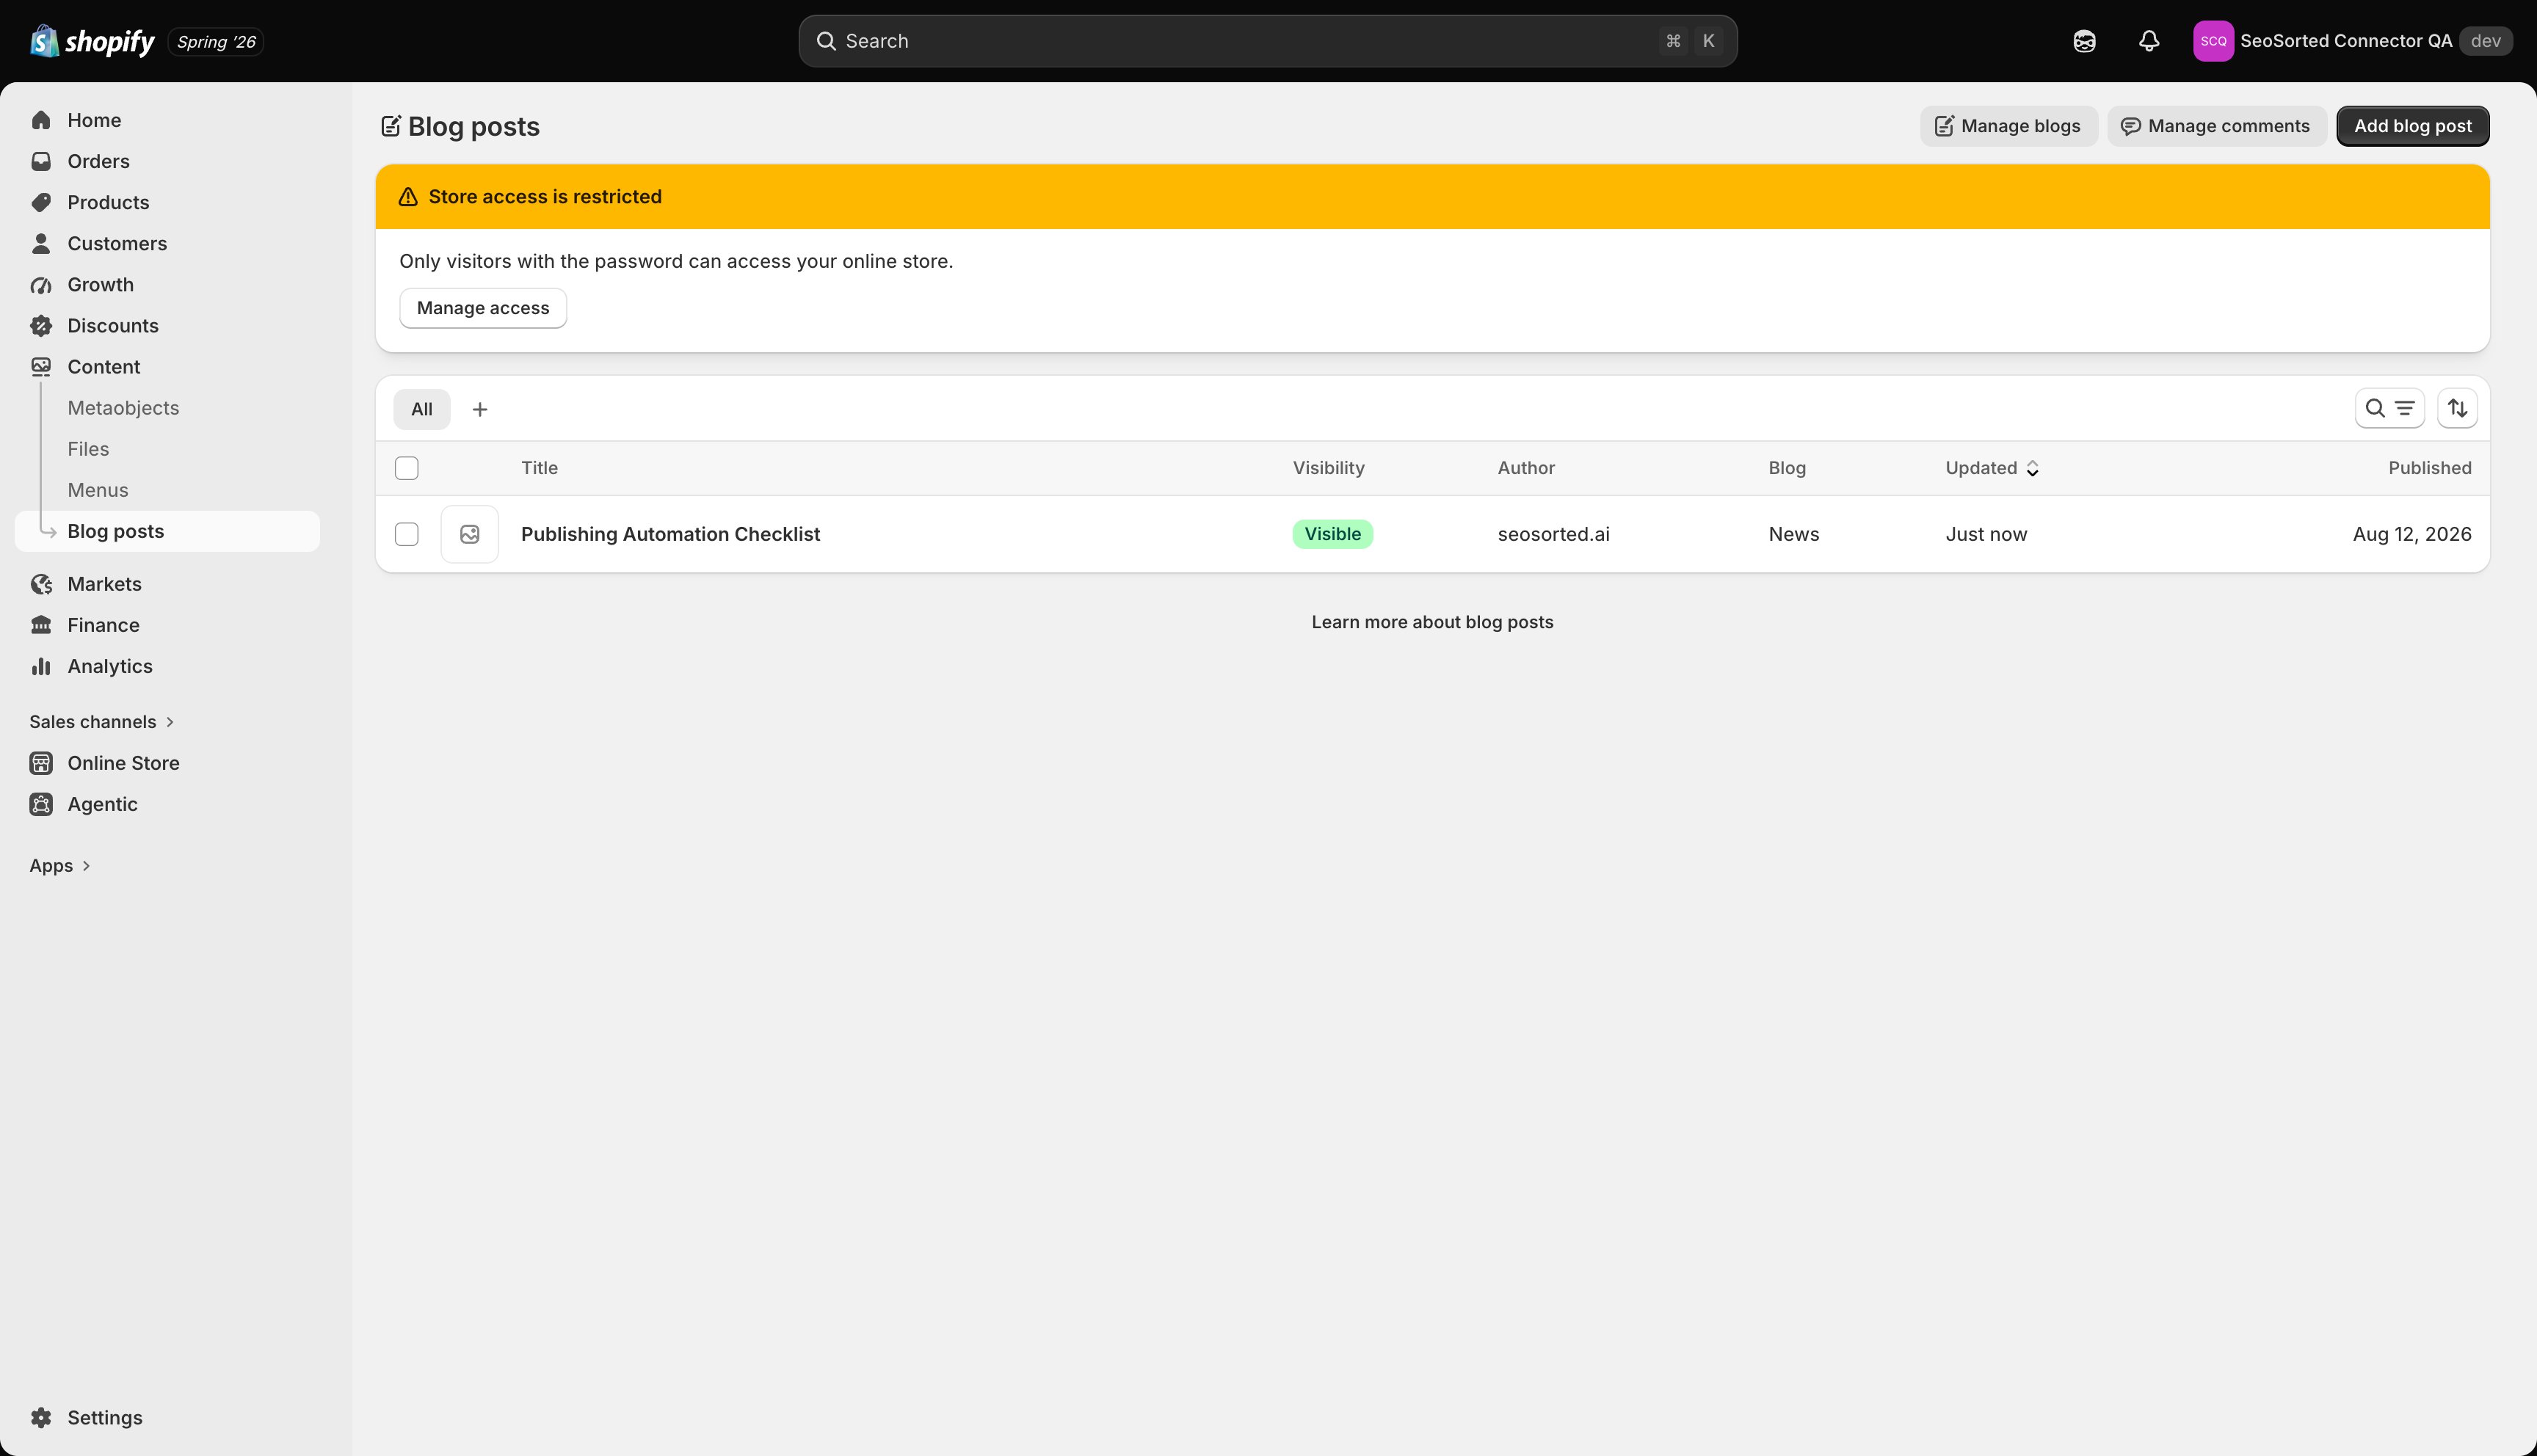
 The article appears in **Shopify admin → Content → Blog posts**, visible and dated.
 Articles are created **published** (visible immediately) with:
| Article field | Lands in Shopify as |
| -------------------------------------- | ----------------------- |
| Title | Article title |
| Body | Article content (HTML) |
| Meta description | Article excerpt/summary |
| Author persona, or your workspace name | Article author |
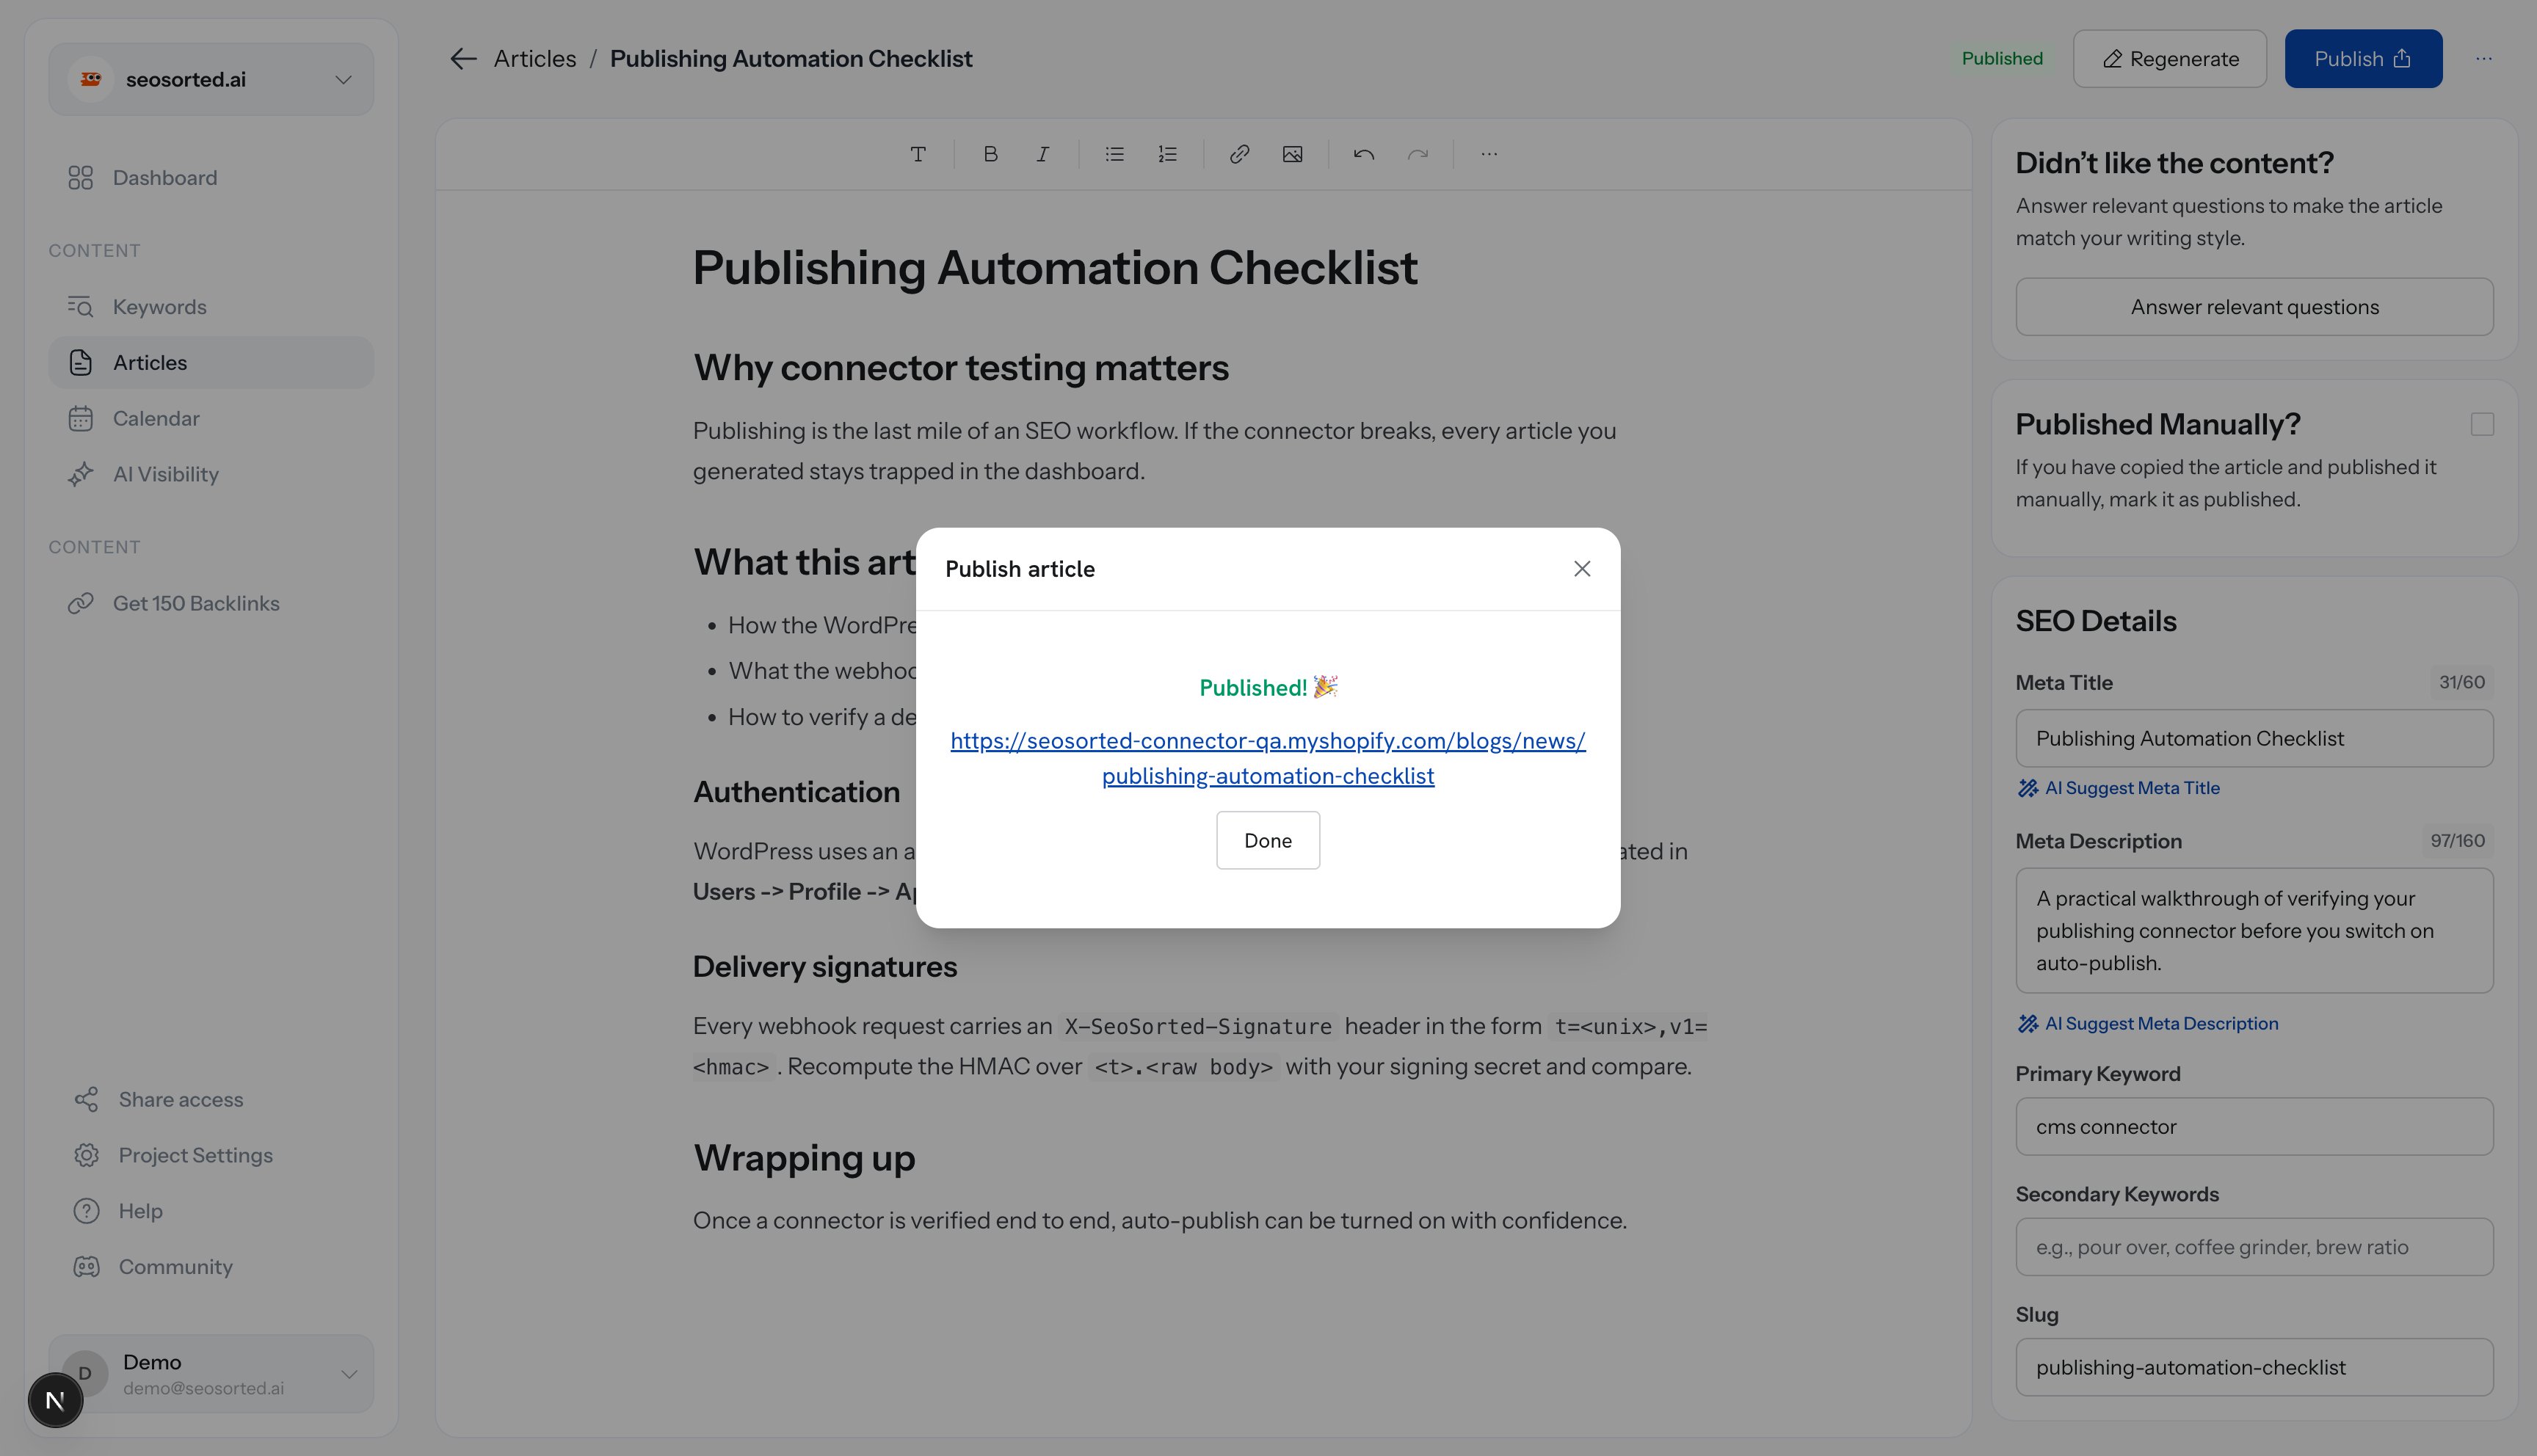
The success dialog links to the `myshopify.com` URL, which redirects to your custom domain. On a
development store — or any store with password protection on — that link asks for the storefront
password before it renders.
## Common problems
You entered a custom domain or something that isn't a store handle. Use
`yourstore.myshopify.com`.
The store's plan is paused, frozen or cancelled. Shopify redirects app installs to
reactivation until billing is active again. Reactivate the store, then connect.
Your staff account lacks app-install permission. Ask the store owner to run the connection,
or have them grant you the permission.
The store has no blog yet. Create one in **Shopify admin → Content → Blog posts → Manage
blogs**, then reopen the setup dialog.
Articles are created **published** (visible immediately) with:
| Article field | Lands in Shopify as |
| -------------------------------------- | ----------------------- |
| Title | Article title |
| Body | Article content (HTML) |
| Meta description | Article excerpt/summary |
| Author persona, or your workspace name | Article author |
The success dialog links to the `myshopify.com` URL, which redirects to your custom domain. On a
development store — or any store with password protection on — that link asks for the storefront
password before it renders.
## Common problems
You entered a custom domain or something that isn't a store handle. Use
`yourstore.myshopify.com`.
The store's plan is paused, frozen or cancelled. Shopify redirects app installs to
reactivation until billing is active again. Reactivate the store, then connect.
Your staff account lacks app-install permission. Ask the store owner to run the connection,
or have them grant you the permission.
The store has no blog yet. Create one in **Shopify admin → Content → Blog posts → Manage
blogs**, then reopen the setup dialog.